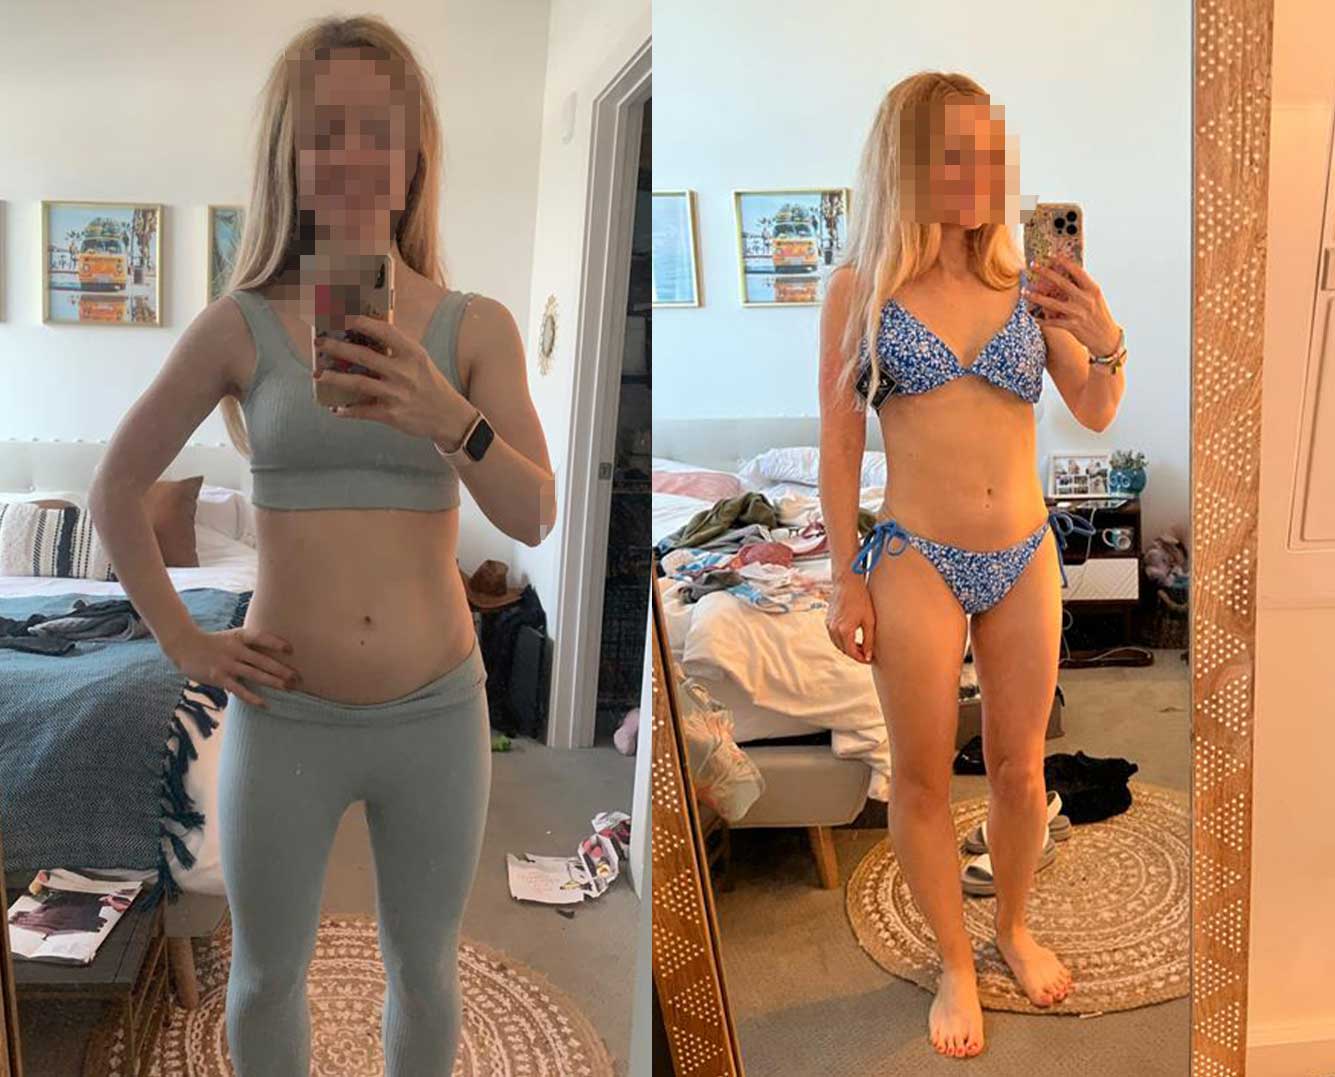
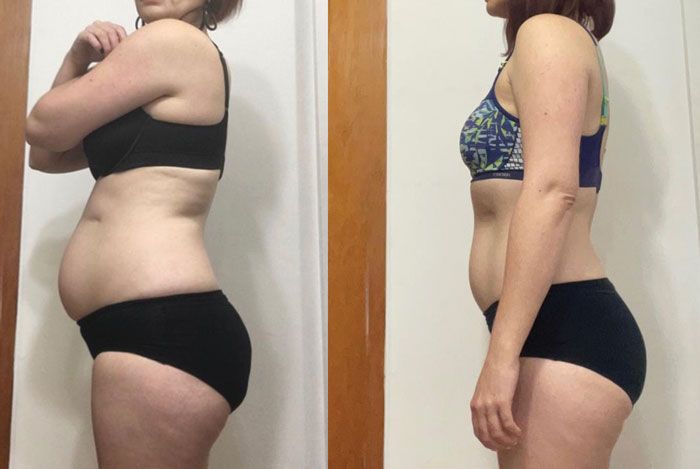
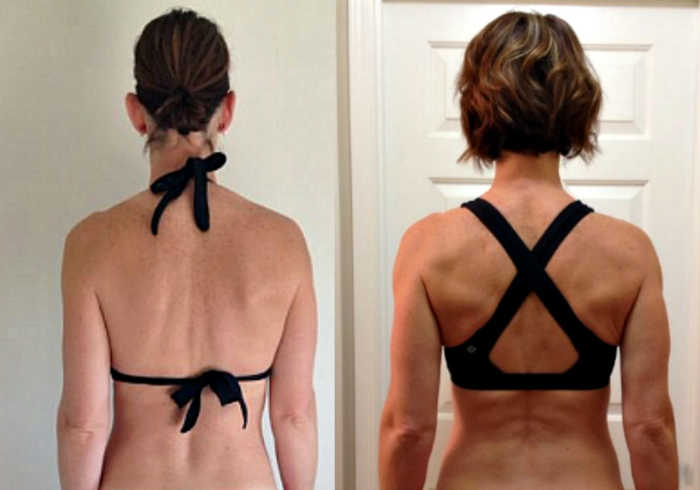
Do you struggle with cellulite and/or a flat, saggy bottom? Sometimes, even when you reasonably happy with the results you are getting, your bottom lags behind (bit of a pun there lol). If things aren’t changing back there, it’s probably because:
- You don’t do the right exercises.
- You don’t have a dedicated glute day(s).
In a previous article, I wrote about why squats and lunges probably won’t lead to any major transformations when it comes to your glutes. Contrary to what you’ve seen on social media, squats aren’t the best exercise for building good glutes.
If you want a major glute transformation, meet the glute bridge.

Nothing hits your glutes like this exercise yet, surprisingly, you don’t see many people doing glute bridges in the gym. Maybe it’s because it looks a little funky or it’s a hassle to set up (more on that later). Whatever the reason, your glutes need this exercise not only to look better but to help with core strength and keeping your back healthy.
This article walks you through the basic progressions up to a weighted glute bridge. Just like any exercise, you’ll only get results if you learn how to engage the muscle you are trying to work so read my tips below before you get started.
Tips To Help You Engage Your Glutes
1. Don’t just go through the motions. You have to engage your glutes and give them a good squeeze at the top of each bridge.
2. Always think about pressing through your heels (rather than the balls of your feet).
3. If you have trouble feeling your glutes, play with your foot position. Widening your stance and turning your feet slightly out can help.
4. If you feel your hamstrings more than your glutes, try placing your feet closer to you.
5. Don’t touch down to the floor between bridges and make sure you come up to the top of the bridge (but don’t arch your back at the top).
Bodyweight Glute Bridges
Start by learning how to do bodyweight glute bridges. The key to bodyweight glute bridges is to actually learn to engage your glutes in the exercise. Focus on the squeeze at the top of the movement and feeling the glutes working.
Bodyweight glute bridges are relatively easy to do but if you train at home and don’t have access to weights to progress your glute bridges, here are some ways you can make them more challenging:
- Do more reps (ie. 4 sets of 20-25 or one set of 50 or 100)
- Elevate your feet on something stair height (ie. your stairs would work perfectly!)
- Do single leg glute bridges
Single Leg Glute Bridges
You’ll be surprised at how much more challenging these are compared to regular bodyweight glute bridges. They make a great option if you train at home and don’t have weights to progress your glute bridges. I also like to program them into light leg training days. For even more of a challenge, elevate your working leg on a bench or step.
Weighted Glute Bridges
When you feel ready, start adding weight to your bridges. If you train at a gym, start by just using an Olympic bar and getting used to having the bar on your body (Olympic bars will weigh about 20 kg/45lbs). Once you are comfortable with the bar you can add plates to it. Work on progressing your glute bridges every week by either going up in the amount of weight you lift or increasing your reps.
Here’s how to set it up. Find a quiet corner. Place at least 2 mats underneath you – the heavier you lift the more your back will appreciate the padding.
Then take another thick mat folded over multiple times to make a pad for under the bar which you will place on your pelvis (alternatively you can roll a mat around the bar but I find I get more stability the other way). If your gym doesn’t have thick mats, you may need to double up the mats as you lift heavier. Just go by how it feels and add in extra padding if you need it.
If you don’t have access to an Olympic bar, you can place weights such as a dumbbell or a round plate on your body while doing the glute bridges, but using the bar is by far the best way to do the exercise.
Fitting Glute Bridges Into Your Program
Train your glutes at least 2 times and preferably 3 times per week if you really want to transform them. Here’s how that could look:
1. Make one day a heavy glute training day
Have one day dedicated to glute training where you do at least 4-5 exercises just for glutes and as heavy as possible. Do weighted glute bridges with a focus of adding either weight or reps each week so you are always progressing the lift (I normally do a few warm up sets and then 4-5 sets at the heaviest weight I can lift for 8-10 reps). Other good exercises to train heavy are the hip abduction machine, cable kickbacks or donkey kicks on a machine, and stiff leg deadlifts.
2. A couple days later have a light glute/leg day
In your lighter session, incorporate exercises like bodyweight glute bridges, single leg glute bridges, hip thrusts, cable kickbacks, donkey kicks and leg circuits. Focus on keeping your heart rate elevated for the whole session, rather than lifting heavy. You can keep your heart rate up by doing supersets and minimizing rests.
3. Get in a few more glute bridges or kickbacks at the end of the week
Hit your glutes one more time near the end of the week by doing some more bodyweight glute exercises. I usually throw these in before some cardio or I mix them into a fat burning circuit.
One final thing I should mention is that a lot of women avoid heavy glute bridges because of the hassle of setting them up and not being sure where in the gym to do them. Try to plan your week so you do glute bridges at a quiet time in the gym. For example, I do mine on Sunday morning when the gym is usually quieter. If that’s not possible, look for an empty corner or a room where you can set them up. It might also be worth training with a friend for support.
Do whatever you need to get your glute bridges in regularly and work at getting stronger at them. You’ll love the results and they are worth the effort!
Want a program that addresses all your problem areas? With my online training program all the details are taken care of for you. It’s like having a coach but without the big price tag. Learn more here.